cracking the crust: your guide to cupping coffee
dive into the ritual of cupping, where each step from grinding to tasting unveils the unique flavors in your coffee. discover the art of aroma and balance.
in this guide
- why cupping matters
- the essential tools for cupping
- step-by-step guide to cupping coffee
- tasting notes and flavor wheels
- how to improve your palate
- common cupping mistakes to avoid
- faq
- how many grams of coffee do i need per bowl?
- can i cup espresso roasts the same way?
- what temperature should my water be?
- how is cupping different from just drinking coffee?
- do i need official score sheets?
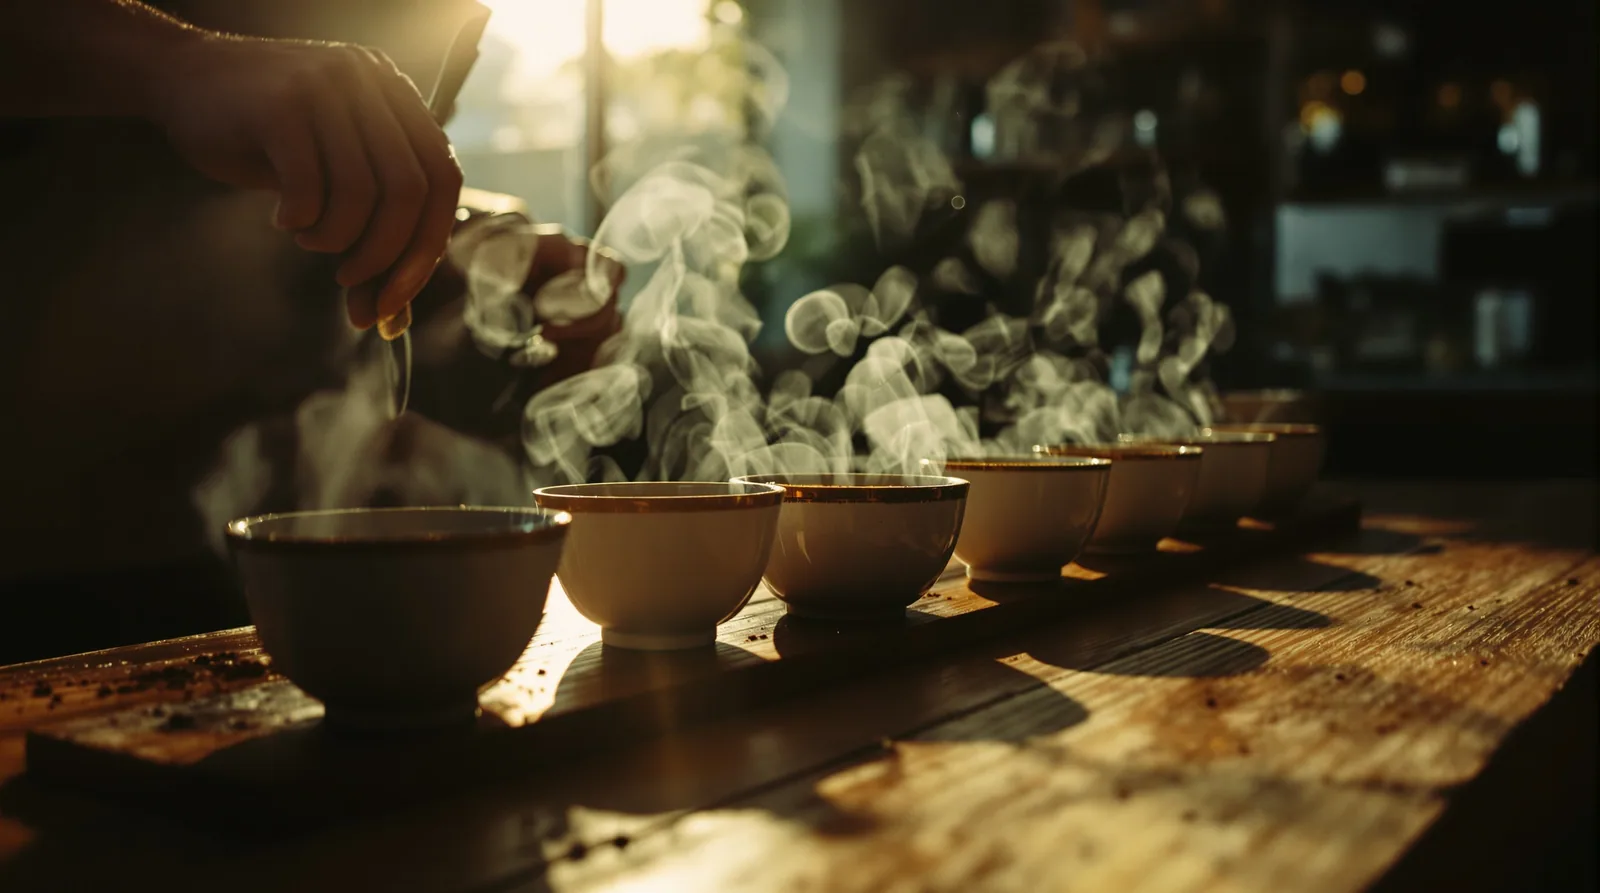
the hiss of the grinder fades as you prepare the first cup. in the corner of acre coffee in hayes valley, a group leans over their cupping bowls, spoons poised. the rich, earthy aroma rises, filling the air with promise. they begin to break the crust, pushing the grounds back with careful spoons, each whisper a signal of the art to come. it's a ritual, this dance of scent and flavour, as precise as it is passionate. and it's here that we start our journey into the heart of coffee tasting, unlocking the secrets hidden in each bean.
why cupping matters
cupping is how the coffee industry talks to itself. farmers in yirgacheffe, importers at royal coffee in oakland, roasters on a thursday morning in bermondsey, all of them use the same basic protocol so that when someone says "high acidity, stone fruit, clean finish," everyone in the room is pointing at the same cup. the sca's cupping standards exist precisely because subjective taste needs a shared structure before it can become useful information.
for anyone who just drinks coffee, it might seem like overkill. but here is the thing: cupping flattens the variables. you strip away brewing method, milk, sugar, the ceramic mug you like. what's left is the coffee itself. and when you cup two or three coffees side by side, differences that would disappear in a flat white suddenly become obvious. one smells like bergamot and dried apricot before you even add water. another is earthier, almost mushroomy. you'd never catch that through a takeaway lid.
it also trains your memory. smell is one of the most powerful routes to long-term recall we have, and building a library of coffee aromas and tastes gives you a reference point for every cup you drink after. a session takes maybe forty minutes. the payoff compounds for years.
---
the essential tools for cupping
you don't need much, but what you do need matters. borrow from a cafe if you can. some specialty shops, like /cafe/assembly-coffee-london, run open cupping mornings where the equipment is already set up.
here's what a proper setup looks like:
- cupping bowls: 160ml to 200ml capacity, ideally identical so heat retention is consistent across samples
- a burr grinder: blade grinders produce uneven particles and will muddy the results
- a precise scale: you want 8.25 grams of coffee per 150ml of water, roughly the sca ratio
- a kettle with temperature control: aim for 93 degrees celsius (200°f). a fellowproducts corvo ekg or anything with a hold function works well
- cupping spoons: deep-bowled, round-tipped. proper spoons are plated to avoid metal tainting the flavour
- rinse cups: one per person, filled with hot water, for cleaning spoons between bowls
- a timer
- a vessel for spent grounds
- score sheets or a notebook
that's it. the simplicity is the point. fellow's cupping guide recommends 20 grams per bowl if you're using larger cups, so adjust to your vessel. just keep the ratio consistent across every sample or you're comparing apples to different-sized apples.
one thing worth saying: skip the flavoured lip balm and heavy perfume. you'll be asking your nose to do fine work.
---
step-by-step guide to cupping coffee
the protocol sounds fussy written out. in practice it becomes automatic after a session or two. the first time i did a proper cupping at a roastery on maltby street, i was convinced i wouldn't smell anything meaningful. by the third bowl i was picking up a distinct dried-cherry note i hadn't expected. the structure is what made it possible.
follow these steps in order:
- grind your coffees. use a medium-coarse grind, similar to a pour-over. grind one sample, then purge 2 grams before grinding the 18-20 grams you'll actually cup. this clears any residue from a previous coffee. label each bowl clearly.
- smell the dry grounds. the sca protocol says you have 15 minutes from grinding before volatile compounds start to dissipate, so don't hang around. lean in. lift the bowl. what do you notice?
- add water. pour 93°c water directly onto the grounds, filling to your target weight. start your timer. do every bowl in sequence without stopping.
- wait 4 minutes. don't touch the bowls. a crust of grounds will form on the surface of each.
- assess the wet aroma. before breaking the crust, put your nose over each bowl and inhale. the steam carries compounds that dissipate fast.
- break the crust. use your spoon to push the grounds toward the back of the bowl with three gentle stirs. sniff as the crust breaks. this moment has its own particular smell, different from both dry and wet aromas. rinse your spoon thoroughly before moving to the next bowl.
- skim the surface. use two spoons to remove the floating grounds and foam, depositing them into your spent grounds vessel.
- wait. let the coffee cool to around 70°c (roughly 8 to 10 minutes from pouring) before you start tasting.
- slurp. load the spoon, hold it near your lips, and aspirate sharply so the coffee sprays across your whole palate and hits the upper roof of your mouth. it sounds messy. it is the right technique. the aeration amplifies volatile aromatics.
- taste at multiple temperatures. as the coffee drops from 70°c toward 45°c, different compounds come forward. acidity sharpens. sweetness opens up. keep tasting.
that's the full loop. write notes at each stage, even if they just say "straw" or "something floral, not sure." you're building vocabulary.
---
tasting notes and flavor wheels
the sca coffee taster's flavor wheel is the closest thing the industry has to a shared language. it organises flavours from broad categories at the centre (fruity, floral, sweet, nutty, spicy, roasted) out to increasingly specific descriptors at the edge. "fruity" becomes "berry" becomes "blackberry." "roasted" becomes "tobacco" or "dark chocolate."
the trick, as counter culture coffee explains, is to start in the middle and work outward. don't try to name a specific flavour immediately. ask yourself: is this fruit-forward or is it more nutty and roasted? once you've placed it in the right zone, you can narrow it down.
a few things worth understanding about tasting notes:
- they describe naturally occurring compounds, not added flavours. a coffee that tastes of blueberry contains many of the same aromatic molecules as an actual blueberry.
- descriptors shift with roast level. light roasts preserve more origin character. darker roasts develop roasty, bittersweet compounds that override the origin.
- processing method has a dramatic effect. natural-processed ethiopians often taste almost fermented and berry-like. a washed kenyan from the same region can taste bright and clean as white grape.
here's a rough guide to what you might encounter at different roast levels:
| roast level | common flavour descriptors | acidity | body |
|---|---|---|---|
| light | floral, citrus, stone fruit, tea-like | high | light to medium |
| medium | caramel, hazelnut, red apple, milk chocolate | medium | medium |
| medium-dark | dark chocolate, dried fruit, toasted nut | low-medium | full |
| dark | smoky, bittersweet, tobacco, dark caramel | low | heavy |
when in doubt, write down whatever comes to mind, even if it sounds absurd. "wet cardboard" is a legitimate defect descriptor. "my grandmother's pantry" is useful personal shorthand. accuracy comes with practice. honesty comes first.
---
how to improve your palate
most people assume palate is innate. it's mostly not. it's attention, practice, and a willingness to name things out loud (or on paper) before you're sure.
the most effective exercise is comparative tasting. brew two coffees back to back on a v60, or cup them side by side. one from ethiopia, one from colombia. one light roast, one medium from the same origin. the contrast makes both cups more legible. you stop asking "what do i taste?" and start asking "what's different here?" that's a much easier question.
a few other things that actually help:
- train on food, not just coffee. eat fruit slowly. smell spices before cooking. visit a market and actually sniff the produce. your brain stores these references and pulls them back during cupping.
- use the wheel during tasting, not after. have it open in front of you. point. be willing to be wrong.
- taste with other people. when someone across the table says "i get red wine," and you didn't, go back and taste again. you'll often find it once you know to look. this is not cheating. it's how calibration works.
- keep a journal. not elaborate notes, just a line or two per coffee. after three months you will start to see patterns in what you like and how your own palate responds to acidity vs body.
- attend open cuppings. many specialty roasters and cafes run them. caravan in king's cross, allpress in dalston, both have done public sessions. the guided format accelerates everything.
be patient with yourself. a professional q-grader has hundreds of calibrated sessions behind them. you're building the same thing, just more slowly. and you're drinking good coffee while you do it.
---
common cupping mistakes to avoid
everyone makes these the first few times. worth knowing in advance.
grinding inconsistently. if you switch grinders between samples, or forget to purge, you introduce variables that have nothing to do with the coffee. use the same grinder, same setting, same purge routine for every sample in the session.
skipping the dry aroma. it's tempting to rush to the water. don't. the dry fragrance contains compounds that disappear once heat is introduced. you're throwing away a third of the available information.
not rinsing the spoon. cross-contamination is real. a spoon that carries a bit of a bright, acidic ethiopian into your next bowl will make everything taste slightly off. rinse every time, properly, in hot water.
tasting too hot. at boiling temperature, your palate is partially numbed and you mostly get aroma rather than taste. wait for the coffee to drop to the 70°c range before your first spoonful. then keep tasting as it cools to 45°c. the cup changes dramatically.
writing nothing down. memory is unreliable, especially when you're tasting four or five coffees in sequence. even vague notes anchor your impressions. "bowl 3 was weird, something fermented" is useful information an hour later.
wearing strong scent. sounds obvious. happens constantly. before a cupping session, soap only.
treating the score as the point. scores are a tool for communication and quality control. for anyone learning, the score matters less than the observation. spend your attention on noticing, not ranking.
---
faq
how many grams of coffee do i need per bowl?
the standard sca ratio is roughly 8.25 grams of coffee per 150ml of water. in practice, most cuppers use 10-12 grams per bowl for a 175-200ml vessel, though fellow's protocol suggests up to 20 grams for larger bowls. what matters most is consistency across all samples in the same session. vary the dose and you're no longer comparing coffees on equal terms.
can i cup espresso roasts the same way?
yes, with adjusted expectations. darker roasts will show less origin character and more roast character, so your tasting notes will cluster toward chocolate, caramel, and smoke rather than fruit and floral. the protocol is identical. some cuppers prefer to roast all samples to a similar level before comparing origins, but if you're evaluating commercial espresso blends as they're actually roasted, cup them as-is.
what temperature should my water be?
93°c (200°f) is the standard. hotter and you risk over-extraction and scalding, which masks nuance. cooler and you under-extract, making the cup taste flat and sour. if you don't have a temperature-controlled kettle, boil and rest for 30 seconds to one minute, which drops most boiling water to around the right range depending on your altitude.
how is cupping different from just drinking coffee?
structure and comparison. when you drink coffee normally, you're responding to the whole experience, including the brewing method, the vessel, the context, the milk. cupping removes most of those variables and puts multiple coffees side by side so differences become obvious. the slurping technique also forces the liquid across more of your palate than sipping does, which is why it's part of the protocol rather than just a habit.
do i need official score sheets?
no. the sca's scoring system is designed for grading specialty coffee for trade purposes. for personal tasting practice, a notebook with columns for aroma, flavour, acidity, body, and aftertaste is entirely sufficient. what matters is that you write something down, even if it's rough. formalised score sheets become useful once you're comparing coffees across multiple sessions or communicating results to someone else.
cupping isn't just for pros with calibrated palates. it's a journey into the complexity of coffee. each session, each spoonful, brings new revelations and deeper appreciation. so next time you pick up your cup, remember the aromas you've dissected, the flavours you've discovered. perhaps, you'll find a new favourite lurking in the familiar.